For this post, I’m using sample the file Excel4EngMajors_HarryPotter.xlsx. If you want to follow along, you can download the file here or on the Resources page.

Let’s talk data for a second. Data can be overwhelming. There’s nothing worse than opening an Excel spreadsheet and feeling like you have no idea what you’re looking at – and even worse, no way to find what you need.
Don’t panic. We have a solution for that.
Excel is primed and ready to make interacting with data as easy as possible – if you know the tools that you need to work with. Excel can put things in order. Excel can group things. Excel can even filter out any unnecessary information, so you just see what you want. And all of these features are built right in.
How does Excel interact with data?
Some of the most powerful tools in Excel are housed on the Data menu. Depending what version of Excel you’re using, the data menu will either be a drop down from the menu bar or a tab on the ribbon. You’ve got a bunch of different options here (Text to Columns is one of my favorites – we’ll cover that in an upcoming post), but two of the most useful are Sort and Filter.
Sort lets you sort a group of data based on a particular column. You can sort based on just one column, or you can sort based on a couple things in sequence (for example, sort everyone alphabetically by their last name, and then sort people with the same last name alphabetically by first name).
Filter allows you to sort, but in a different way. Rather than pulling up a one-time menu, filter makes the header row into dropdown menus, which let you both sort information in a particular order and filter information in or out of view on the spreadsheet.
These functions are useful for almost any spreadsheet, but they can be particularly helpful for spreadsheets that have a lot of text, like lists of names. Let’s do an example.
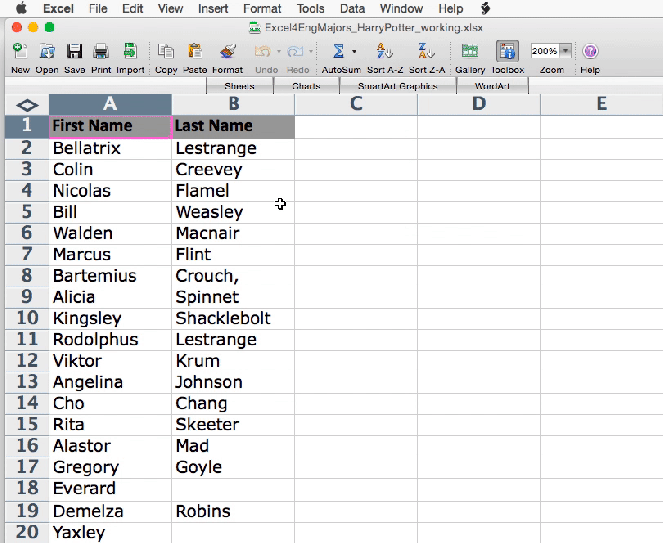
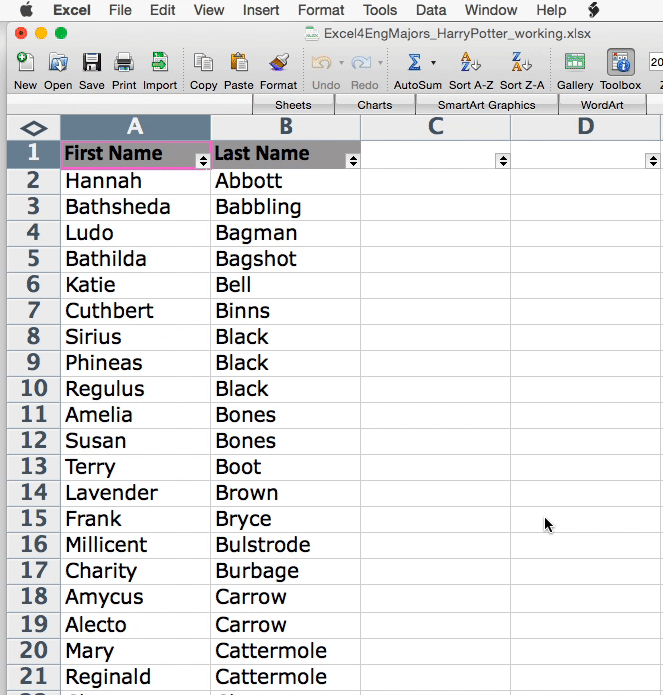
There are lots and lots of names in Harry Potter.
I remember reading the Harry Potter books for the first time and being entranced by the Sorting Hat scene. How could this magic hat know every single young witch or wizard that started at Hogwarts! How could it know them well enough to put each student in the right house! To my young mind, this was the first truly magical moment.
Although the Sorting Hat certainly has more character than Excel does (sometimes I wish my spreadsheet could muse at me while I’m working on a project…), Excel can recreate some of the magic of keeping everything in line using the sort and filter.
So we’ve got this long list of names in no particular order. It would probably be really helpful to have the list sorted alphabetically by last name, so we can look at the data in a reasonable way. Let’s start doing that by using the Sort function.
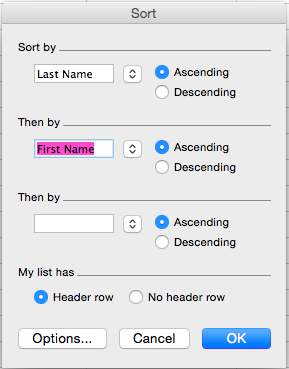
Click the Sort function in Excel. Depending which version of Excel you’re using, it could be in a couple different places, but it will always be on the Data menu.
On the Sort menu, we are going to confirm that the list has header rows, so that Excel knows that our data has name. Then, we will pick to sort ascending (meaning A-Z, or going up in value) by Last Name. Then we will click OK.
And voila! We have a sorted list.
If you are just going to need to order data once, the sort function is probably the right move to make. If there is a potential that you might need to sort data on a couple different criteria – or filter it out to see particular things – the filter function might be a better option.
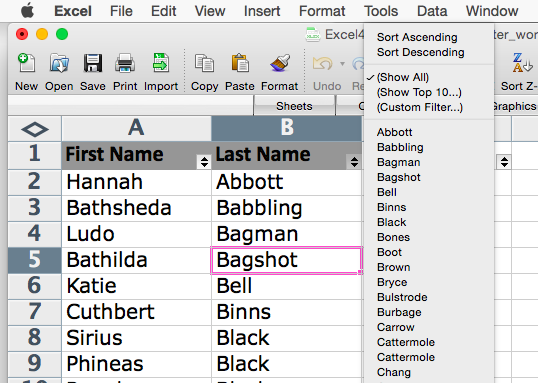
To start, highlight the row that you want to filter the data by. In most cases, this will be the header row. Then click the Filter (or Auto-Filter) function. This will make each header in your row a dropdown menu. Click on the arrow next to the column you want to sort by, and then, just like in the sort function, you can choose your criteria. Let’s Sort Ascending.
And we did it! Two different options for the same task.
Where Filter gets really cool is its ability to filter out data. Let’s say we’ve got this huge list of data, but really we only care about people with the last name “Potter.” Because duh.
Let’s click the dropdown menu next to Last Name again. The dropdown menu shows you all the different data options that are represented in that column. Scroll down through the names until you find “Potter,” and then click the name. For different versions of Excel, there may be checkboxes, and you would want to uncheck everything so “Potter” is the only thing checked, then click “OK.”
And now we can see just the Potters! Wow!
There’s lots of potential for Sort and Filter, especially as we start building more and more complex spreadsheets, but the main one is just too make your life easier.
What do you think? Learn something cool? Tell us about it in the comments below!

One thought on “Sort and Filter: Using Excel to Put Things in Order”